myOGO merchant settings
How to set up your merchant profile in myOGO?
Once you have signed up to myOGO the next step is to fill out your merchant details and settings! From here you can find detailed instructions on how to create an account first. Once you have an account created follow these steps to get it all set up!
- Log into your account with your email and password
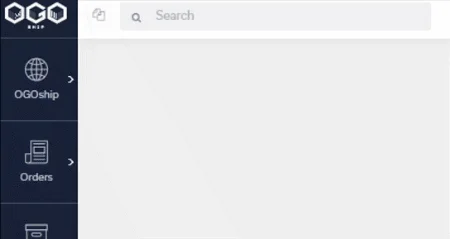
- From the globe icon in the left upper corner, you can access the merchant settings page
- There you will find categories for all your settings
- Company information
- Fill in the official company information, including VAT, EORI and other registration numbers needed for holding stock and selling goods.
- Company information
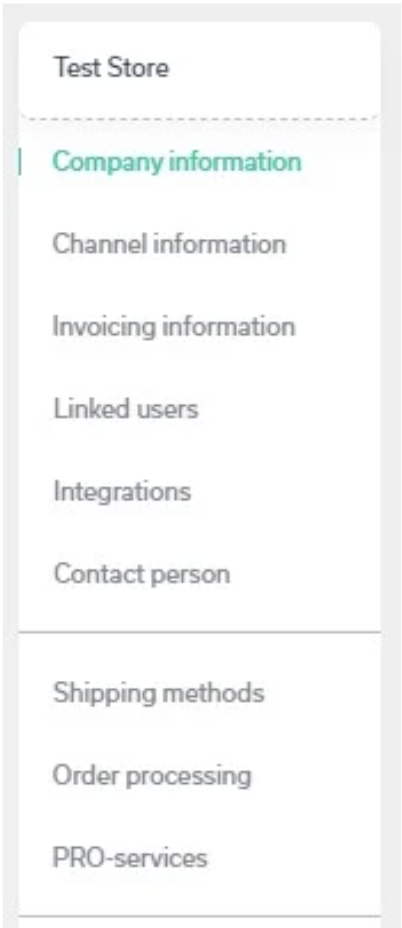
- Channel information
- Then fill in channel information. This info will be shared with the warehouses and also shown on shipping labels
- Invoicing information
- Select preferred invoicing method and provide the necessary invoicing details
- Linked users
- Create user accounts to everyone who will use myOGO. New users can be added at any point.
- You can modify the user rights on the user level
- Create user accounts to everyone who will use myOGO. New users can be added at any point.
- Integrations
- Next add in your online store integration, more details on setting up you can find here
- If you wish to create multiple channels into your account you may add the additional ones here. Read more on additional channels here.
- Contact person
- Please provide the name and contact details of the person you would like us to contact for all daily communications. Ensure that these details are kept up-to-date to avoid any disruptions. If there are any changes, kindly inform us.
- Please add phone and email
- Please provide the name and contact details of the person you would like us to contact for all daily communications. Ensure that these details are kept up-to-date to avoid any disruptions. If there are any changes, kindly inform us.
- Shipping methods
- Request activation for new shipping methods and configure them to your online store on this page.
- Order processing & PRO-services
- For these two setting pages kindly contact service@ogoship.com
- Once you are fully set-up remember to SAVE your changes!
- Channel information