Sign up to myOGO and create your account
In myOGO a "Merchant" is the name for your online store. You can register many Merchants with one user account.
Here are instructions on how to get started!

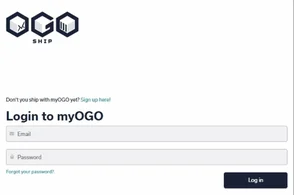
- Go to myOGO and start creating your account by clicking Sign up here!
- Fill in your name, email, phone number and create a password
- Enter your Merchant name (the name of your company/online store)
- Select the type of account you wish to create
- Create a DEMO merchant if you wish to test the myOGO platform
- Demo account can be later on moved to an active Merchant account by OGOship staff member
- Create a new empty merchant if you are starting your collaboration with OGOship and want to create an account to be used
- Create a DEMO merchant if you wish to test the myOGO platform
- Then select your warehouse(s)
- List of available OGOship warehouses will be presented below, if you will use multiple OGOship warehouses with one Merchant account, you may select all the ones to be used
- If you are creating a testing account, please select Public testing warehouse

Now that you have your account set up, time to add the Merchant details
The platform's front page shows you info on orders' statuses and has useful links on the right-hand side. On the footer, you can find Terms and Conditions for the use of OGOship services and Privacy Policy. You can always return to the first page by clicking the OGOship logo in the upper left corner.

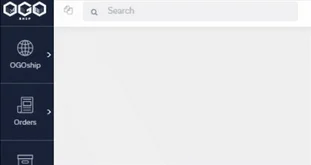
To edit the Merchant account, click the globe icon on the left top corner. From this selection, you can add, edit or deselect merchants. You can add multiple merchants to myOGO, or additional channels. Read more about multichannel sales. To fill in the info of your merchant click Edit merchant.
Next steps